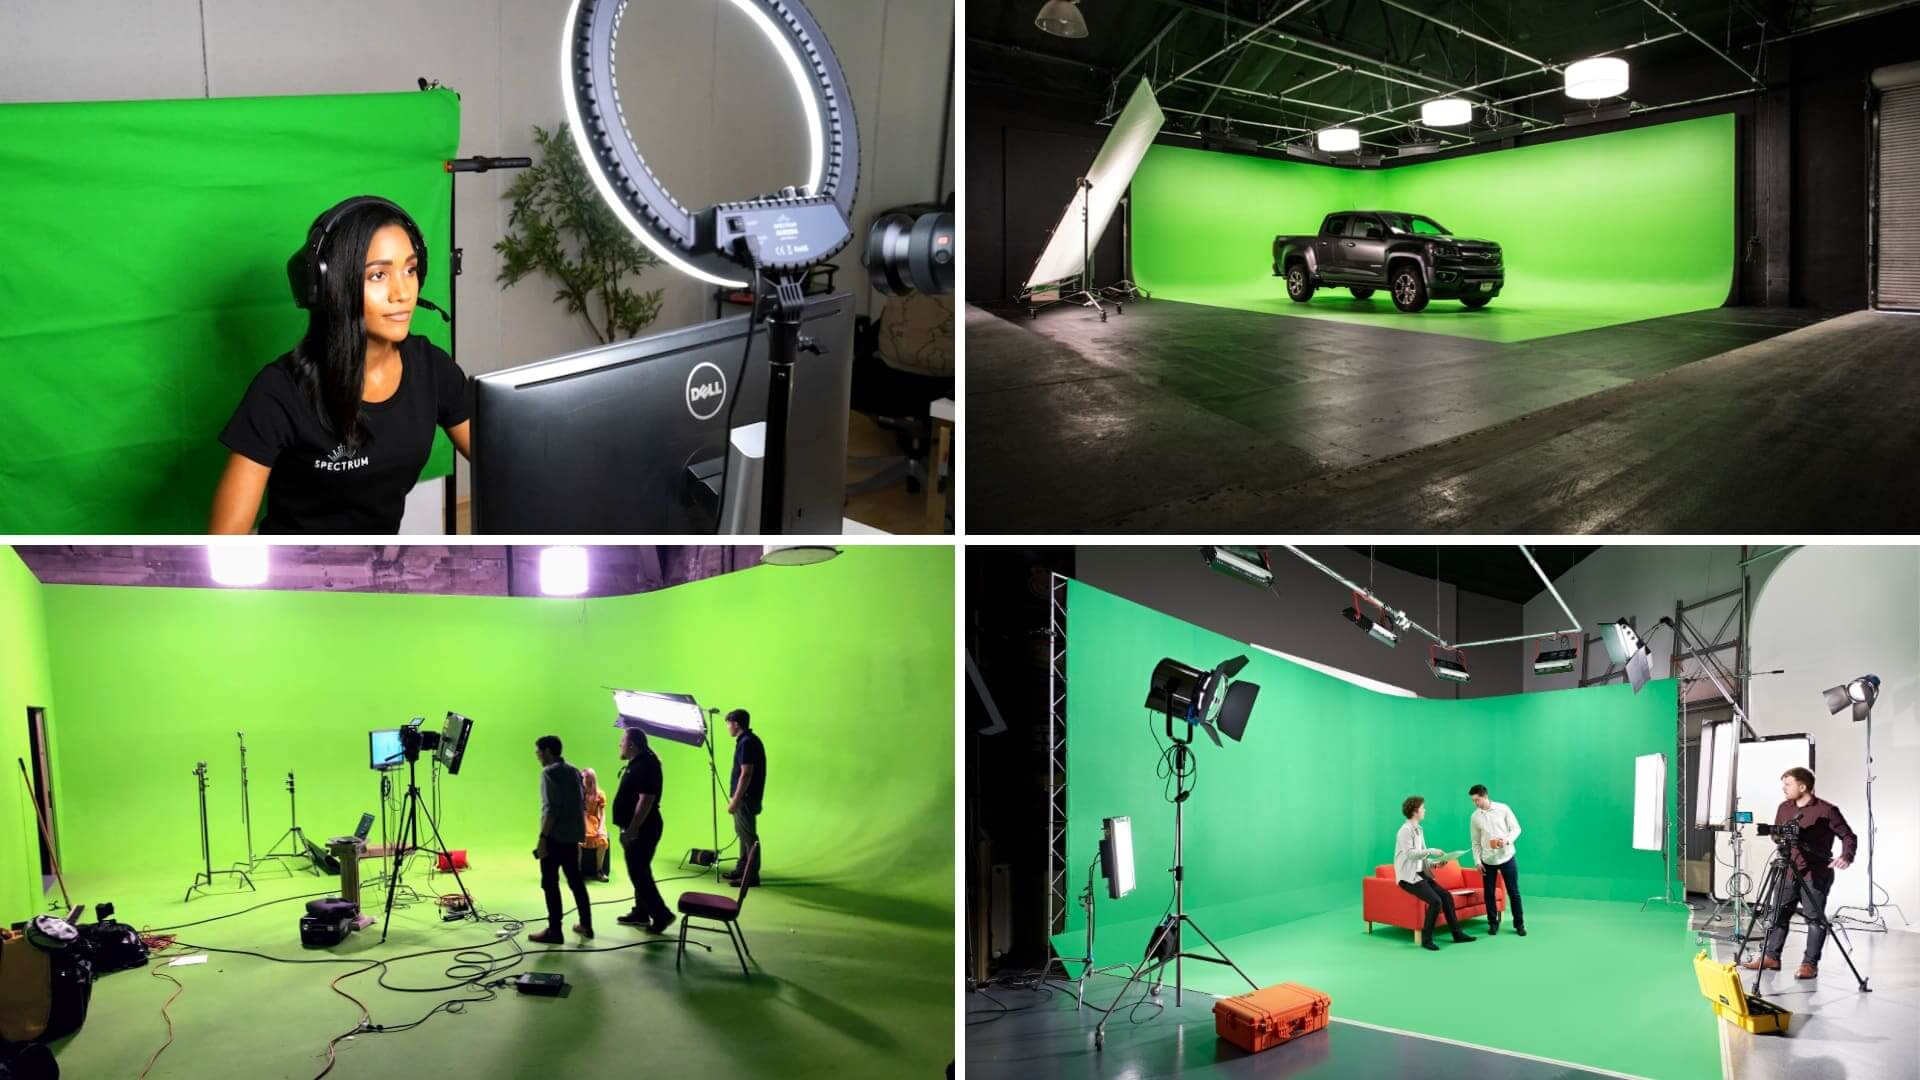
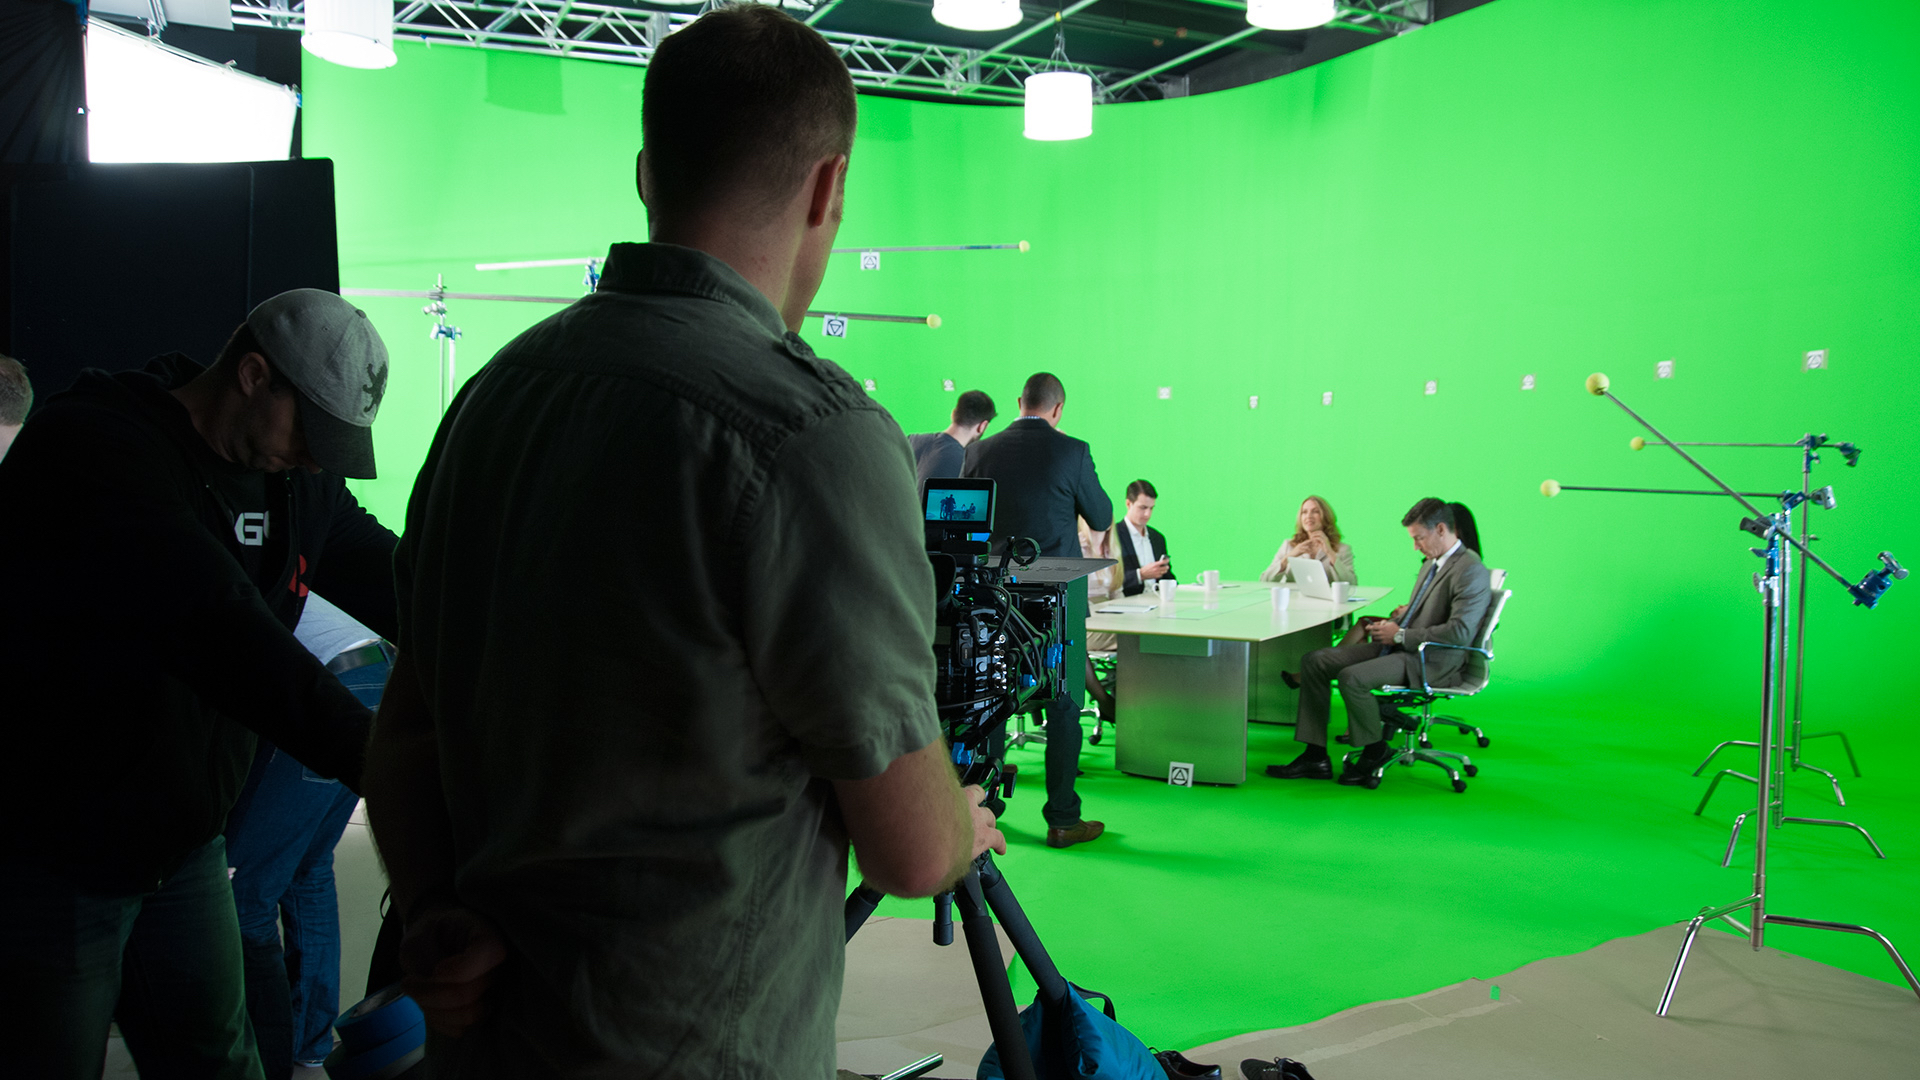
Filmmakers looking for an easy way to expand their shoots need to understand how to use green screens. With a good green screen, you can more easily create special effects, simulate locations, and build virtual sets. You can be shooting at a studio in Denver and make it look like you’re in the middle of the Amazon!
But without proper technique, shooting a green screen can be more painful than it is helpful. There’s nothing worse than spending hours cleaning up bad green screen footage because someone didn’t spend time setting up the green screen properly.
To save you time on your next project, here are some tips for shooting green screens.
The Wall
In some situations, a green screen will be painted on a wall, but often green screens are hung using a green fabric material. In these cases, make sure to pull the screen tight on all sides.
For a good key, you need a green screen surface that is as flat and smooth as possible. You don’t want creases or folds in your screen. Folds create shadows that will wreak havoc on your keying in post-production.
Lighting
Lighting is one of the most important parts of using a green screen. Why? Because if you don’t evenly light it, you’re going to have shadows. If you have shadows, you’re going to have a bad key. Always concentrate on lighting your green screen thoroughly.
Light your Screen
The biggest mistake you can make with a green screen is lighting the screen and the subject as one. You will need multiple high-quality lights set up just to light the screen. Use diffused, nondirectional lighting that hits your screen from above. That will give you the flat lighting you need for a good key. Try measuring the lighting on your screen with a waveform monitor. You’ll know the green screen is lit well when you see a flat line going across the monitor.
Light your Talent
Talent is a part of the environment you’re creating, and that environment has its own light source. Knowing what type of footage you’ll be using for your new background will tell you how best to light the talent in front of your green screen. Where’s the light coming from? Is it behind the talent or in front of them? Plan this out and light it accordingly.
Keep It Separated
Separate your green screen from your foreground elements as much as possible. A good rule is to pull your foreground elements at least ten feet away from your green screen. This will help to eliminate shadows that your foreground elements might cast on the green screen. Just like creases in the screen, shadows cast by the foreground elements will cause problems when you are trying to get a clean key.
In addition, separating your foreground elements from the screen will help eliminate the spill. Spill occurs when some of the green light bounces onto the objects in the shot, giving them a soft green outline. You don’t want to deal with spill when keying in post-production.
If It’s Green, It’s Gone
If someone shows up in a green tie, the Key tool in the video editing software will show a hole through their chest. Look out for colors that have just a hint of green too. Mirrored or reflective objects like eyeglasses can also be a problem. Take the time to review your shots before filming to make sure you aren’t picking up green reflections on any objects.
Plan Ahead
When shooting green screen, you want to be prepared. Know how to key properly. Know your shots and camera angles. Storyboard them or previs them so that everyone on the crew knows what you’re going for. Let the cinematographer know where the light source is coming from in each shot. Plan these scenarios.
Shooting on a green screen can provide some great results. It’s not that hard to do as long as you plan ahead and watch out for the small things that can pose big problems later on. We hope these tips make your next green screen shoot a little easier.


